Urbit for Normies: Join Urbit in 10 Minutes with Port
This step-by-step guide will get you online on Urbit in 10 minutes, using Port on your computer (Windows, Mac and Linux are all supported). There is no cost to running Urbit with this application and you don't need to purchase a Planet to access all its network and tools, just a computer to run it on.
What is Urbit?
Urbit is a new kind of computer, an open source platform for sovereign personal computing and a new internet built from first principles.
In practice, Urbit today is a social network supporting groupchat, shared journals, blogs and native crypto integration, designed to be fully decentralized and respectful of data self-ownership & privacy.
Urbit is accessed from any standard web browser, but due to its decentralized design, you can only get online by running your own Urbit server, which doubles as your Urbit account, which this guide will walk you through.
What is Port?
Port is a GUI installer and container for Urbit which makes the setup on a home PC effortless. The advantage of using Port is you can run it off your normal PC and join Urbit as a user quickly, with no costs.
However, by running Urbit off your PC, it won't be accessible by another device (e.g. your phone, or another PC) unless you go through a finicky port forwarding process, and it will still only be online while your PC is running and connected to the internet. Also, if you run your own community group, it will go offline whenever your machine is off or disconnected from the internet.
Urbit is intended to be a server as an operating system, so the best practice installation on Urbit is actually on a personal server that's kept always online and always connected to the web, either one you run at home or more likely, a virtual private server (at a cost of ~$10/mon). If you're ready to dive in fully in Urbit, see the step-by-step guide to setup Urbit on a Digital Ocean VPS. This process is slightly more involved but still fully accessible without a technical background.
If you want to just get online quickly and try out Urbit, read on. You can always move your account onto a VPS later without losing any data.
Step 1: Install Port
Port is a GUI container for Urbit, making the install and setup process effortless. It looks like this:
Head over to to the install page, then find the installer for Windows (ends with .exe), OSX (ends with .dmg) or Linux (ends with .zip):
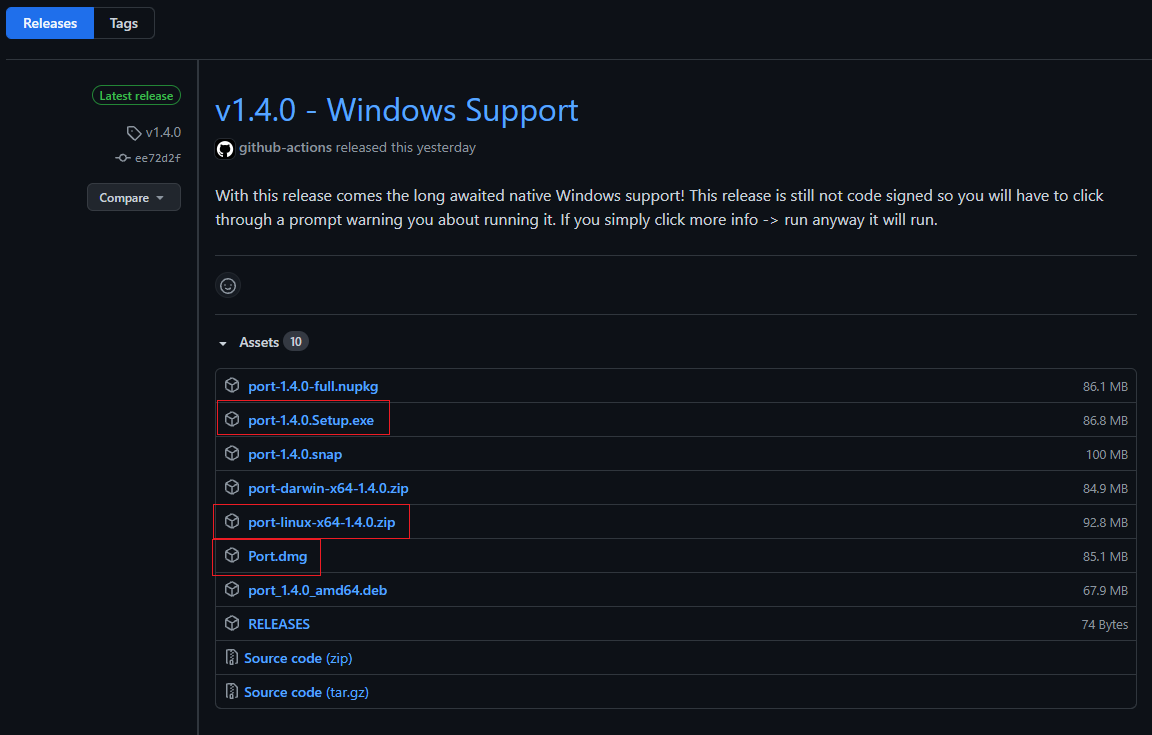
Download it and run the installer.
Step 2: Boot a Comet
Comets are essentially free guest accounts. They currently have all the functionality and software of a Planet, but won't forever so ultimately it's recommended to obtain a Planet, but the timing isn't good right now to purchase one, so don't worry about it.
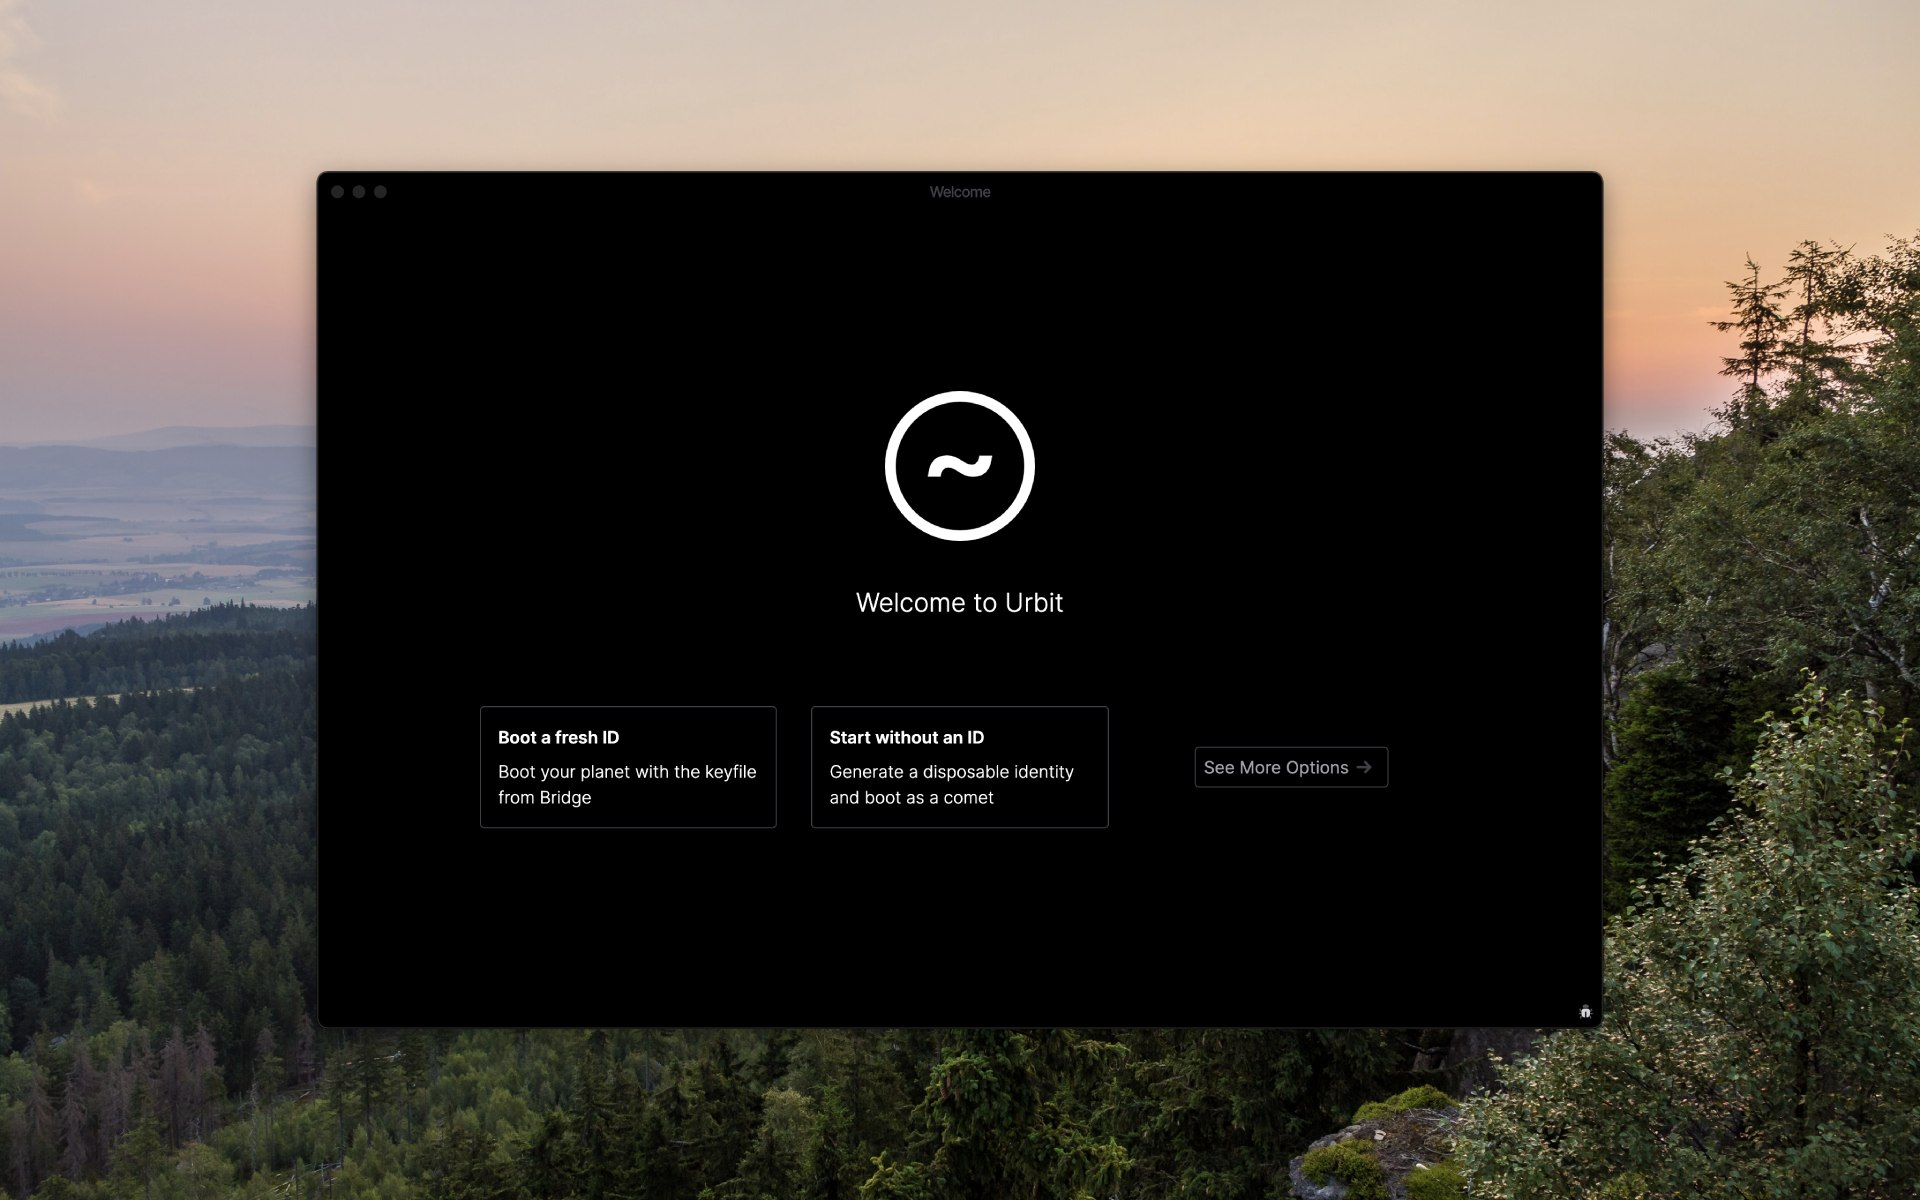
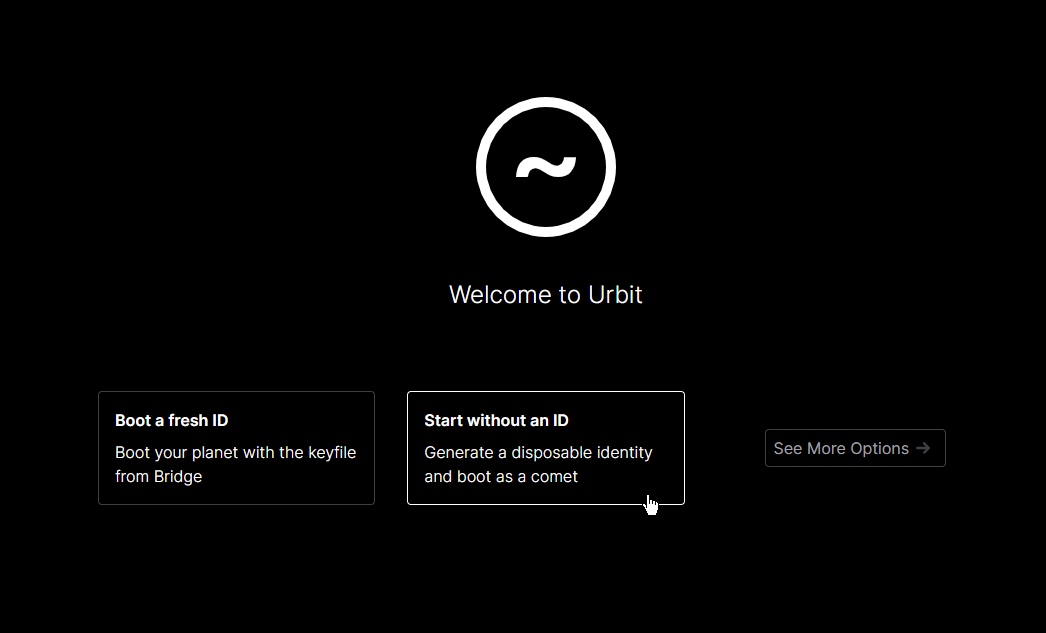
Open Port and when you're greeted with the home screen, select Start without an ID to begin:
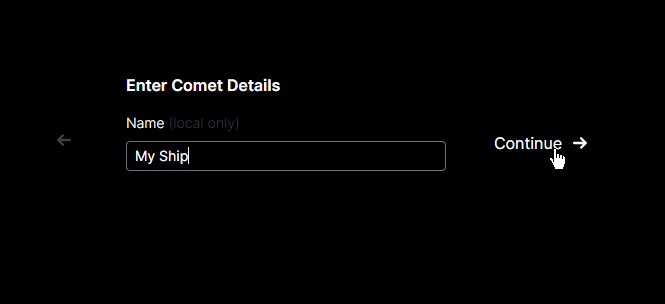
Create a name for your comet. This is only for your own reference, useful when running multiple accounts. Then Continue.
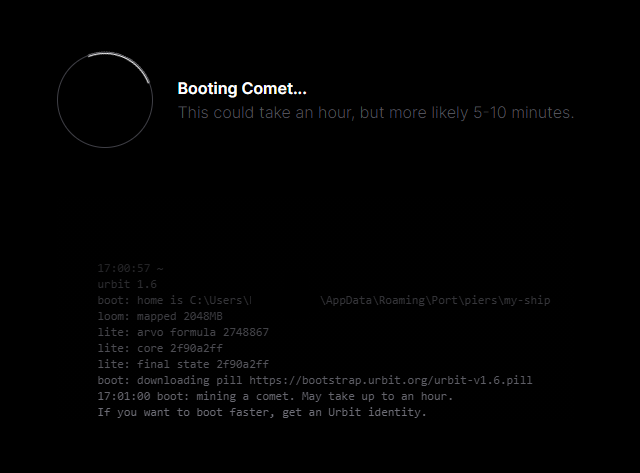
You'll see a Booting screen that looks like this. It'll take 10-15 minutes to complete.
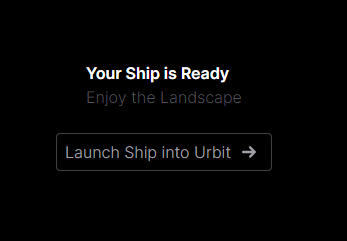
If it takes longer than 30 minutes or throws an error, cancel or hit the home button on the bottom left and try boot > comet to start the process over.Once it's completed, you'll be greeted with this screen. Hit Launch Ship into Urbit to continue.
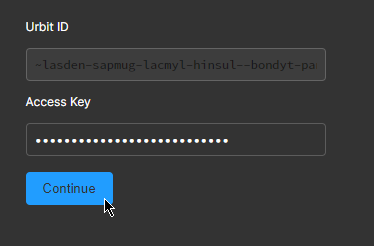
You'll see a screen like this. In Urbit ID will be your randomly generated username. You'll need your Access Key to continue, essentially your generated password.
Click Copy Access Key in the bottom left corner to get it.
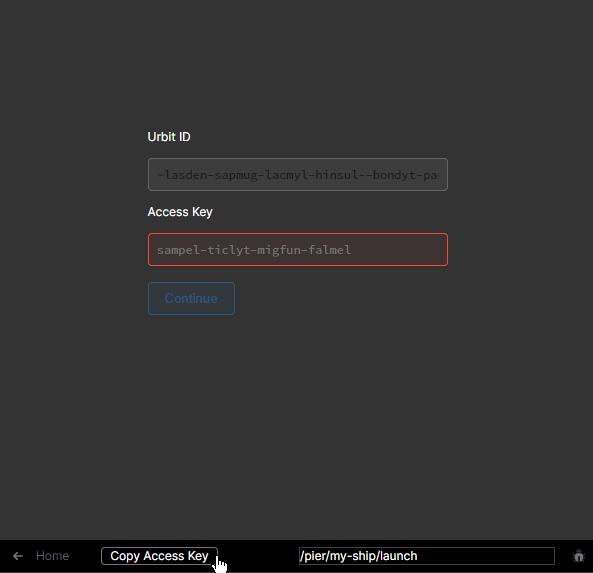
There's no way to change the password, but you can always get it again from this screen.
Paste the code into Access Key and hit Continue.
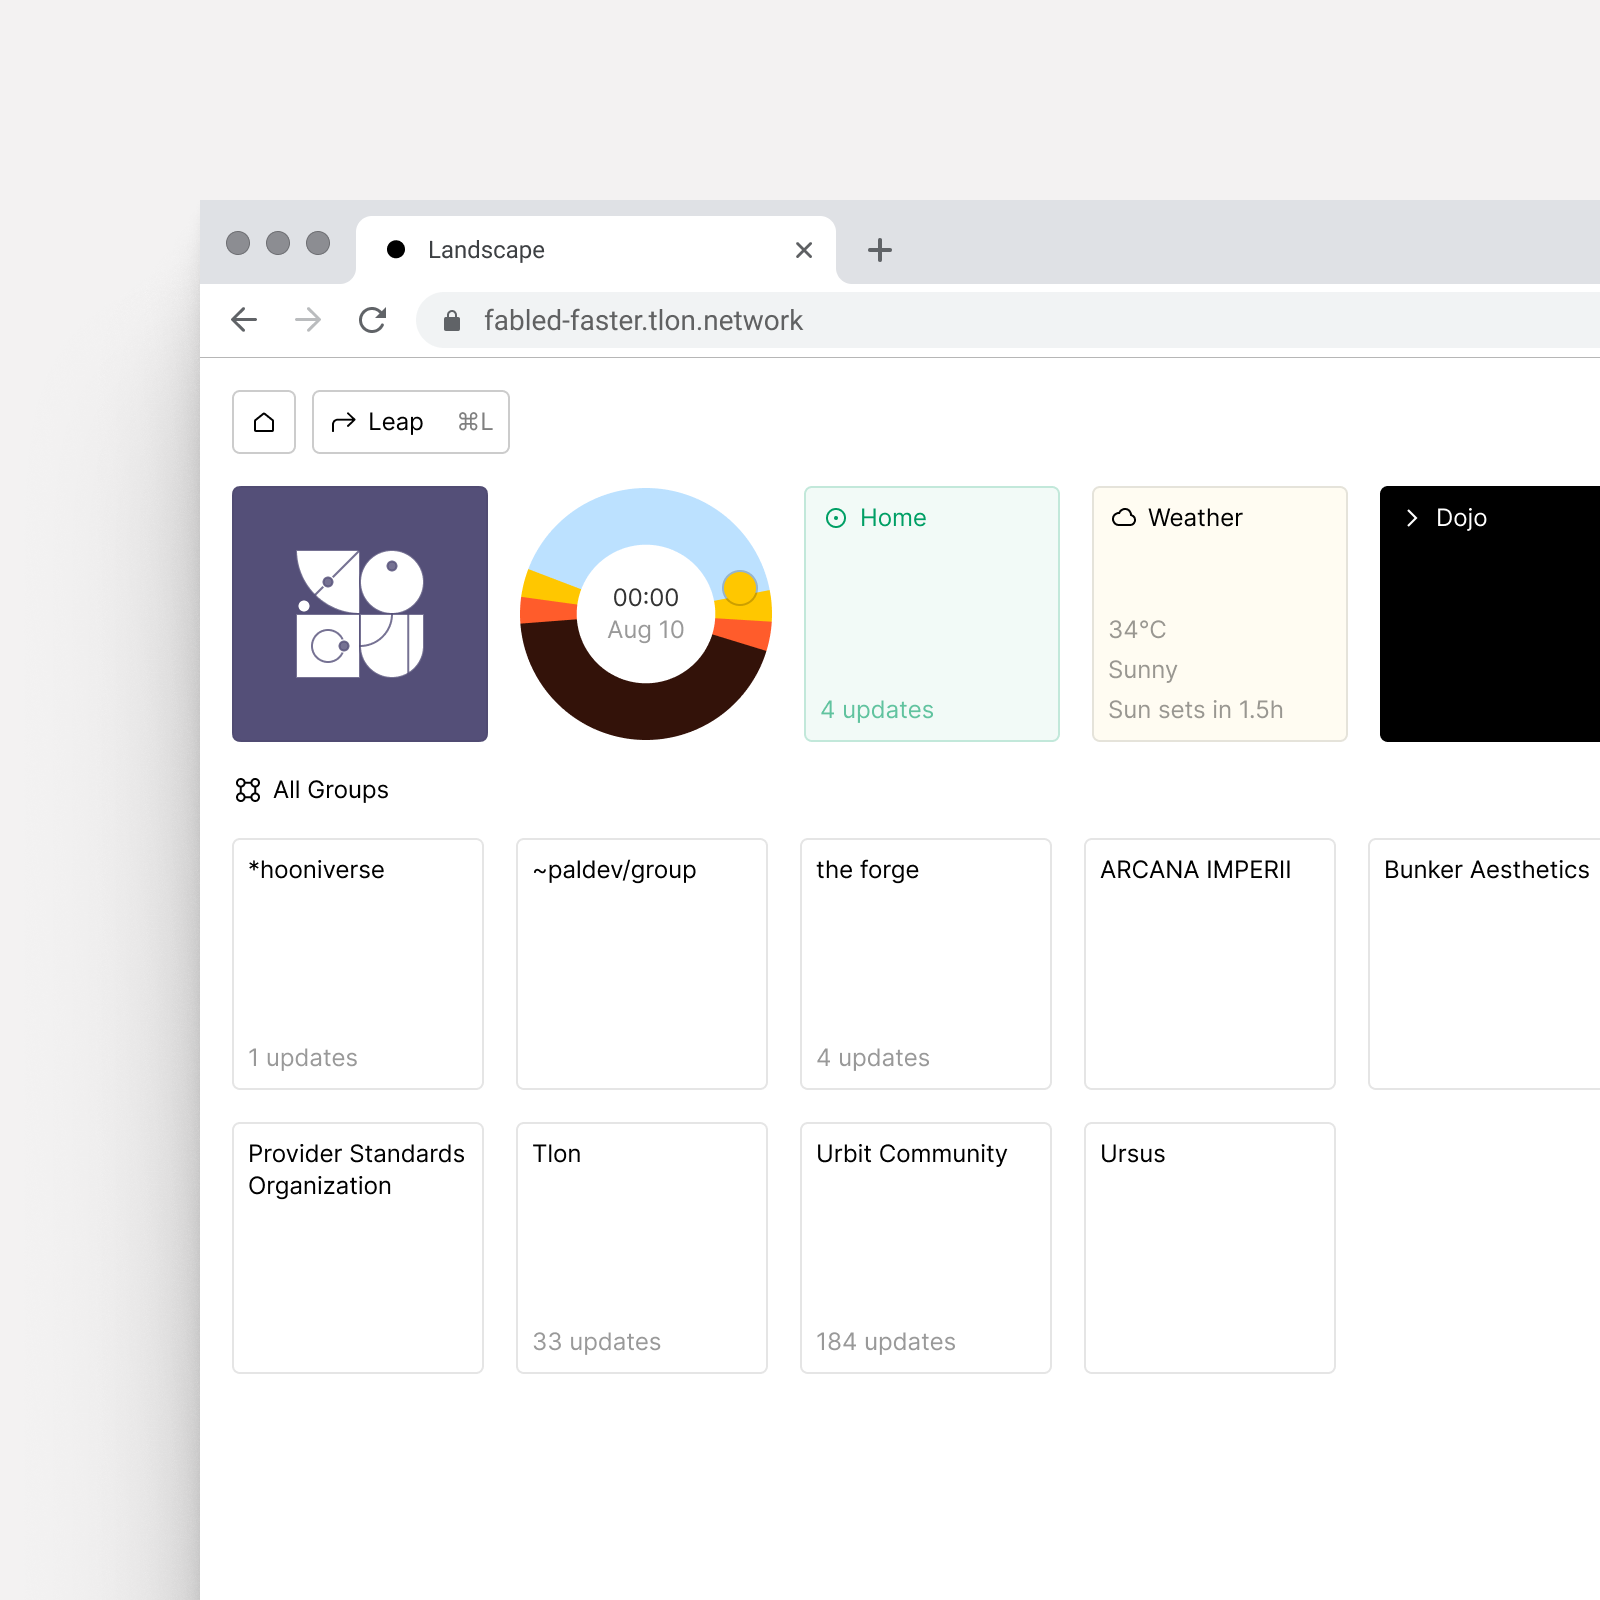
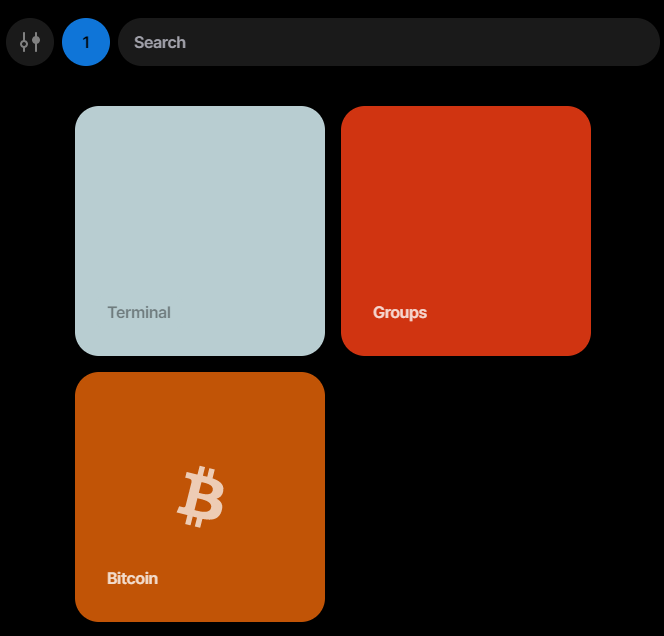
Congrats, you're now inside Grid, essentially Urbit's apps homepage. Later, new apps will be obtainable from here as they're developed, but right now the main app you'll want to be inside is Groups, Urbit's IRC and blogging social network.
Click Groups and it'll open in a new window.
Welcome to your Groups homepage. It'll be barren because no groups are joined by default.

Step 3: Personalize your Account
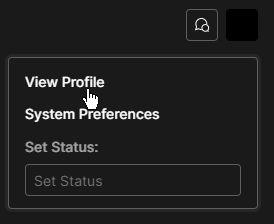
Before we continue, you'll want to customize your profile a bit, by clicking your icon on the top right and selecting View Profile
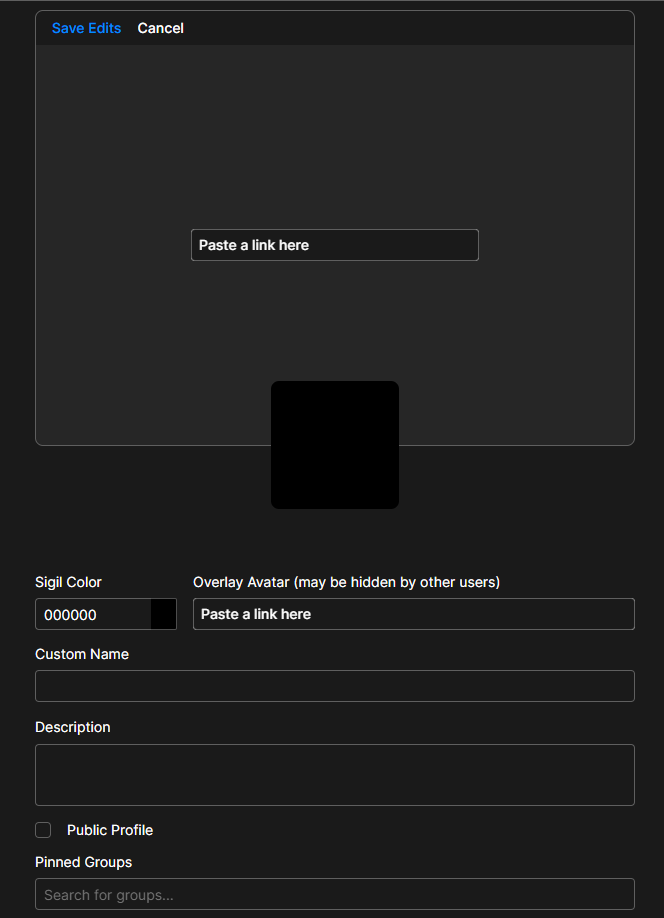
From here select Edit Private Profile on the top left
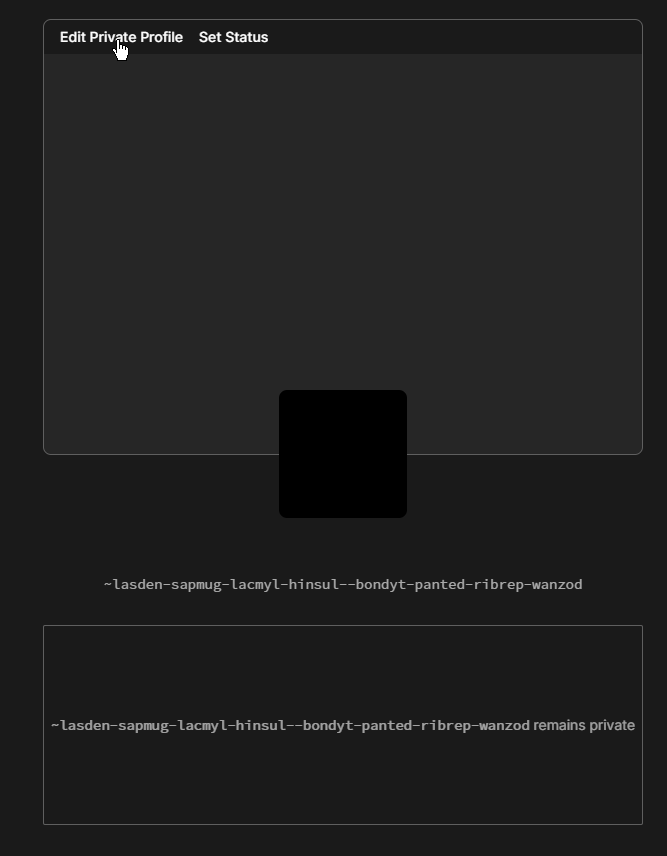
From here you can add a profile picture, banner, set a custom username among other things to personalize your account. Note - images need to be url's to files on the web.
Step 4: Join Urbit's Social Scene
Now that you've personalized your account, let's get your feet wet and meet the community.
Back on your main dashboard, click on Join Group to enter new rooms.
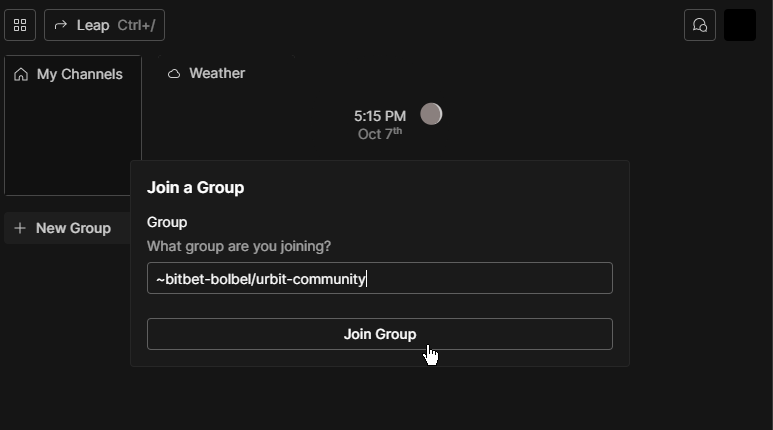
Some recommended groups to join:
~bitbet-bolbel/urbit-community- main community hub~bollug-worlus/urbit-index- index of notebook where other chatrooms are listed~loclen-hodbur/remco- remilia collective hangout~hiddev-dannut/new-hooniverse- hoon dev chat
Once you're in a group, it'll appear on your homepage. You can always reach the homepage again by clicking the grid icon on the top left.
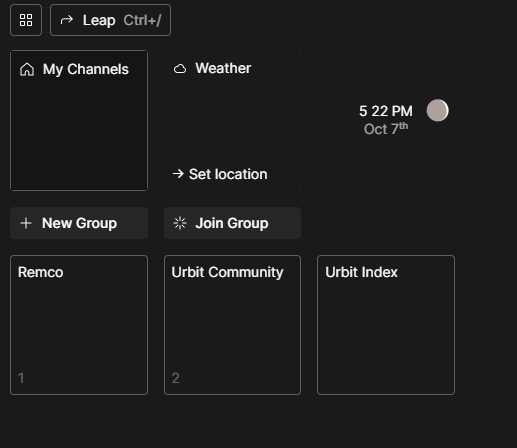
Note - when you join a group, you will need to individually select which of its channels you want to join into. For example, in Urbit Community you'll want to click General on the sidebar then Join Channel.

That's it!
Next, you'll want to consider signing up to an Urbit hosting provider or self-hosting Urbit on a Cloud Host so you can access your Urbit account from any PC, phone or tablet, as well as eventually getting a Planet of your own to ensure a permanent home on Urbit... but for now just come join ~loclen-hodbur/remco and say hi in /general !